The 11 Easiest Italian Vegetables to Grow
Paolo Arrigo - 20/11/2016 on 20th Sep 2019

The 11 Easiest Italian Vegetables to Grow
Some people claim you need to have a green thumb to garden, but we believe anyone can have a full garden of delicious produce if they know where to start! You don't need a greenhouse, a lot of space, or a lot of time to get great Italian food. Here is our list of the 11 easiest Italian vegetables. You can direct seed them now and start eating in as soon as a month.
1. Arugula

How to grow: Scatter seeds in a well prepared bed (30-60 seeds per square foot). Keep moist until seedlings emerge, which should be 3-8 days, depending on temperature. Begin harvesting when they are 3-4 inches tall by pulling individual plants, thinning out your planting. As they get a bit larger, you can just cut an entire section about ½ inch above the soil line with a sharp knife. Taste becomes sharper as the plants mature and the temperature increases.
How to eat: Many people use arugula as a salad green, dressed simply with olive oil, salt and pepper. But it is also wonderful cooked into a frittata, or wilted on pasta or pizza.
Variety to try: Rucola Coltivata. Often used in restaurants, and ready in 30-40 days from the time of direct seeding.
You can see our more descriptive growing guide here.
2. Basil
How to grow: Basil is a warm-weather plant, so direct seed a few weeks after your last frost date. Space plants about 12" apart, and keep them well watered. Pinch off any flower stalks to keep the leaves growing. Or grow it the way they do in Luguria: scatter seed closely and when the plants are about 6 inches tall, pull the entire plant. Our seed packets contain plenty of seeds, so you can grow the tender young plants this way all summer long.
Basil will grow well in containers, so you can use an 8" pot or bigger if your garden space is limited. Be sure it gets full sun.
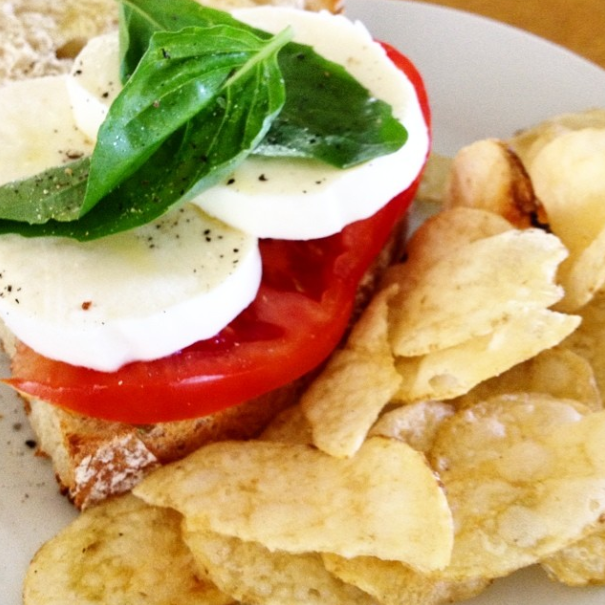
How to eat: Basil has a unique taste that is both slightly spicy and fragrant. Use to make pesto, sauces, or just to add more flavor to general cooking. We love it so much we also use it in salads, or on our favorite (easy!) summer lunch: a sandwich with fresh tomato, fresh mozzarella, and fresh basil, which is pictured above. It's as simple and as wonderful as it gets.
Variety to try: The most famous Italian basil, of course! Basilico Genovese. Ready to eat 35-40 days after direct seeding.
Our full growing guide for basil can be found here.
 3. Beans
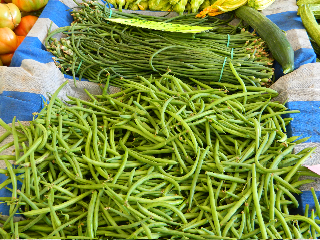
How to grow: Direct seed after the soil has warmed up to 60°F. Plant seeds 1" deep, place a seed every 2", with rows spaced 12-14" apart. Keep well watered until seeds germinate, about 5-8 days. Pick often to encourage more pods to set.
How to eat: Pick beans small. They taste better and this encourages more pod set. Hold the base of the bean where it attaches to the plant and give the bean a tug with the other hand. They should separate easily without doing any damage to the plant. Simple preparation is best: shell them, boil them, and dress with olive oil and fresh herbs.
Variety to try: Our bush bean, the Marconi Nano. Ready 50-60 days after direct seeding.
Our full bean growing guide can be found here.
4. Cucumbers
How to grow: Cucumbers are heat lovers and should not be started until two or three weeks after your last frost date and when the soil temperature has warmed up to at least 60°F. Plant five to six seeds in a hill (actually a 12" circle) and thin to three. Space hills 3 feet apart and rows 5-6 feet apart. Keep well watered. Pick cucumbers when small. Do not allow them to get large and develop seeds, since this will stop or slow continued production. If you grow cucumbers on the ground, look carefully since it is easy to miss one.
How to eat: Easy! It's one of the best vegetables you can add to a salad.
Variety to try: Cucumber Tortarello Barese. Ready in 60 days from the time of direct seeding.
Our full cucumber growing guide can be found here.
5. Leaf Chicory 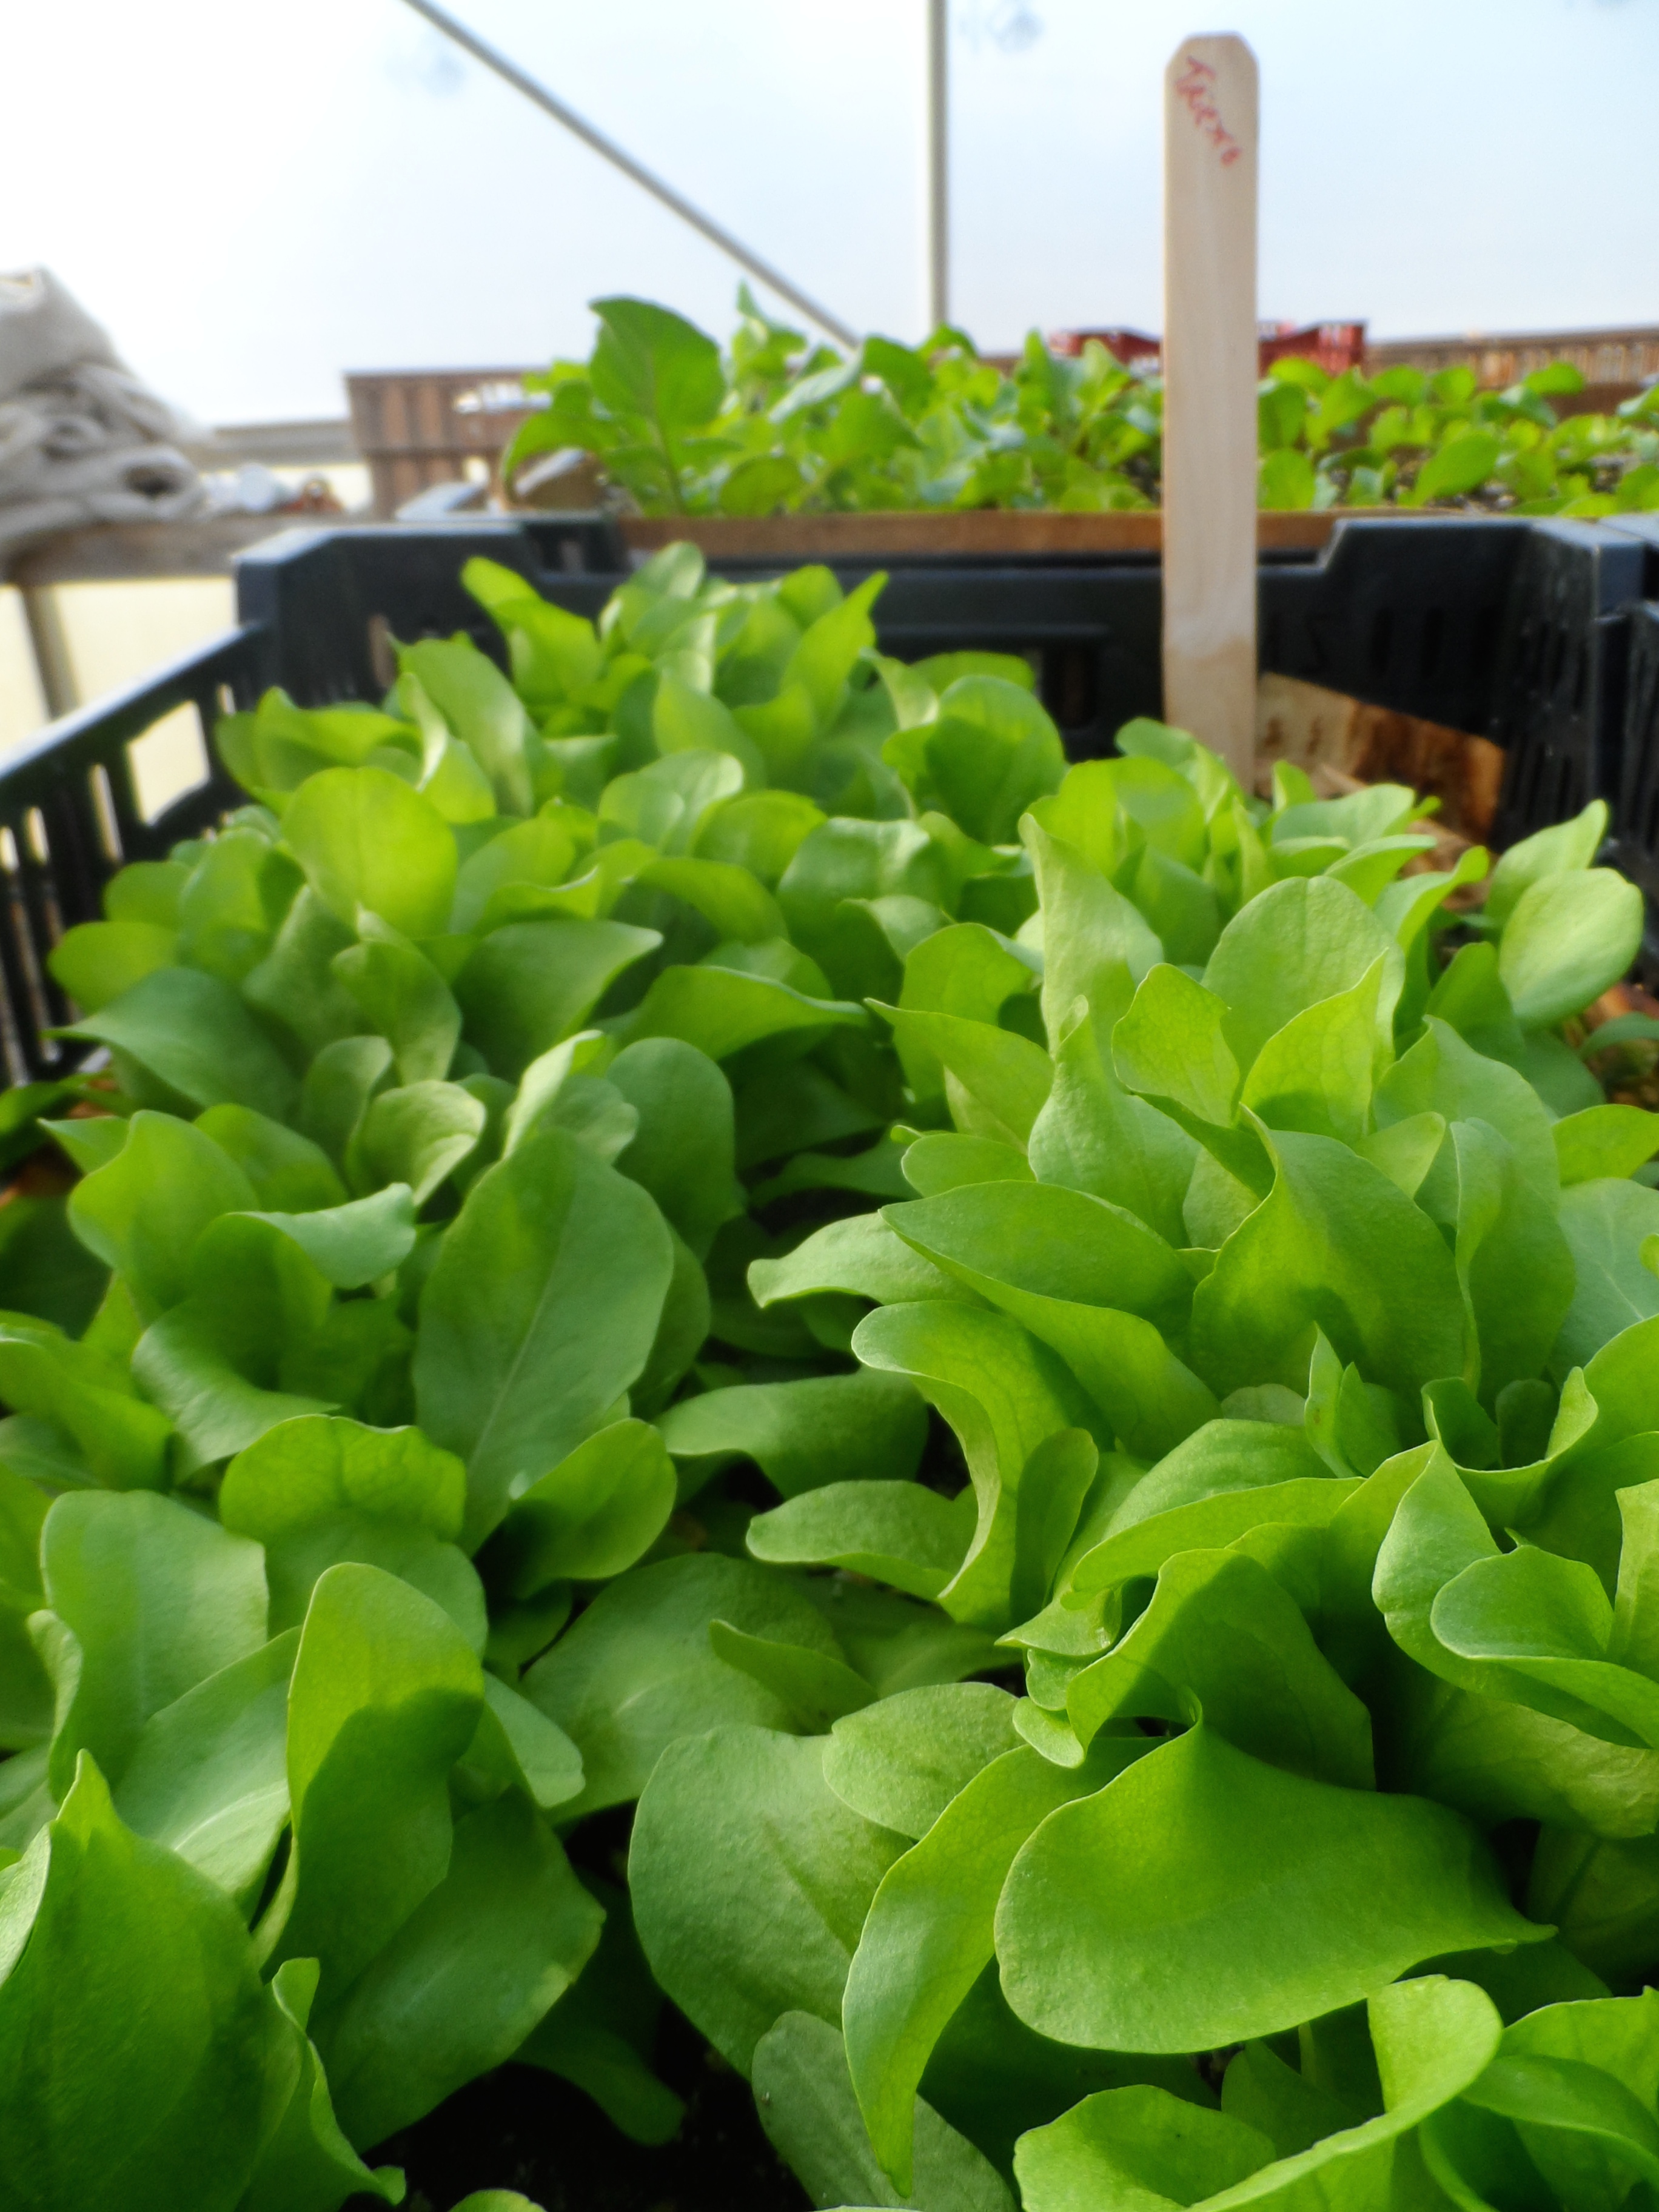
How to grow: Plant seeds in shallow furrows, spacing them about an inch apart. Cover lightly and water well. Seed will germinate in about a week. You can start to pull seedlings for salads when they are about 2 inches tall. When they're about 6 inches tall, cut entire plants with a knife.
How to eat: In salads! Like all chicories, they are considered good for digestion.
Variety to try: Zuccherina di Trieste. Our sweetest variety, ready in 30 days!
Our full growing guide for Chicory, Radicchio, Endive, and Escarole can be found here.
6. Cima di Rapa
How to grow: Direct seed in rows spaced 12" apart. Try to space a seed per inch, thin to one plant every four inches after it grows a bit.
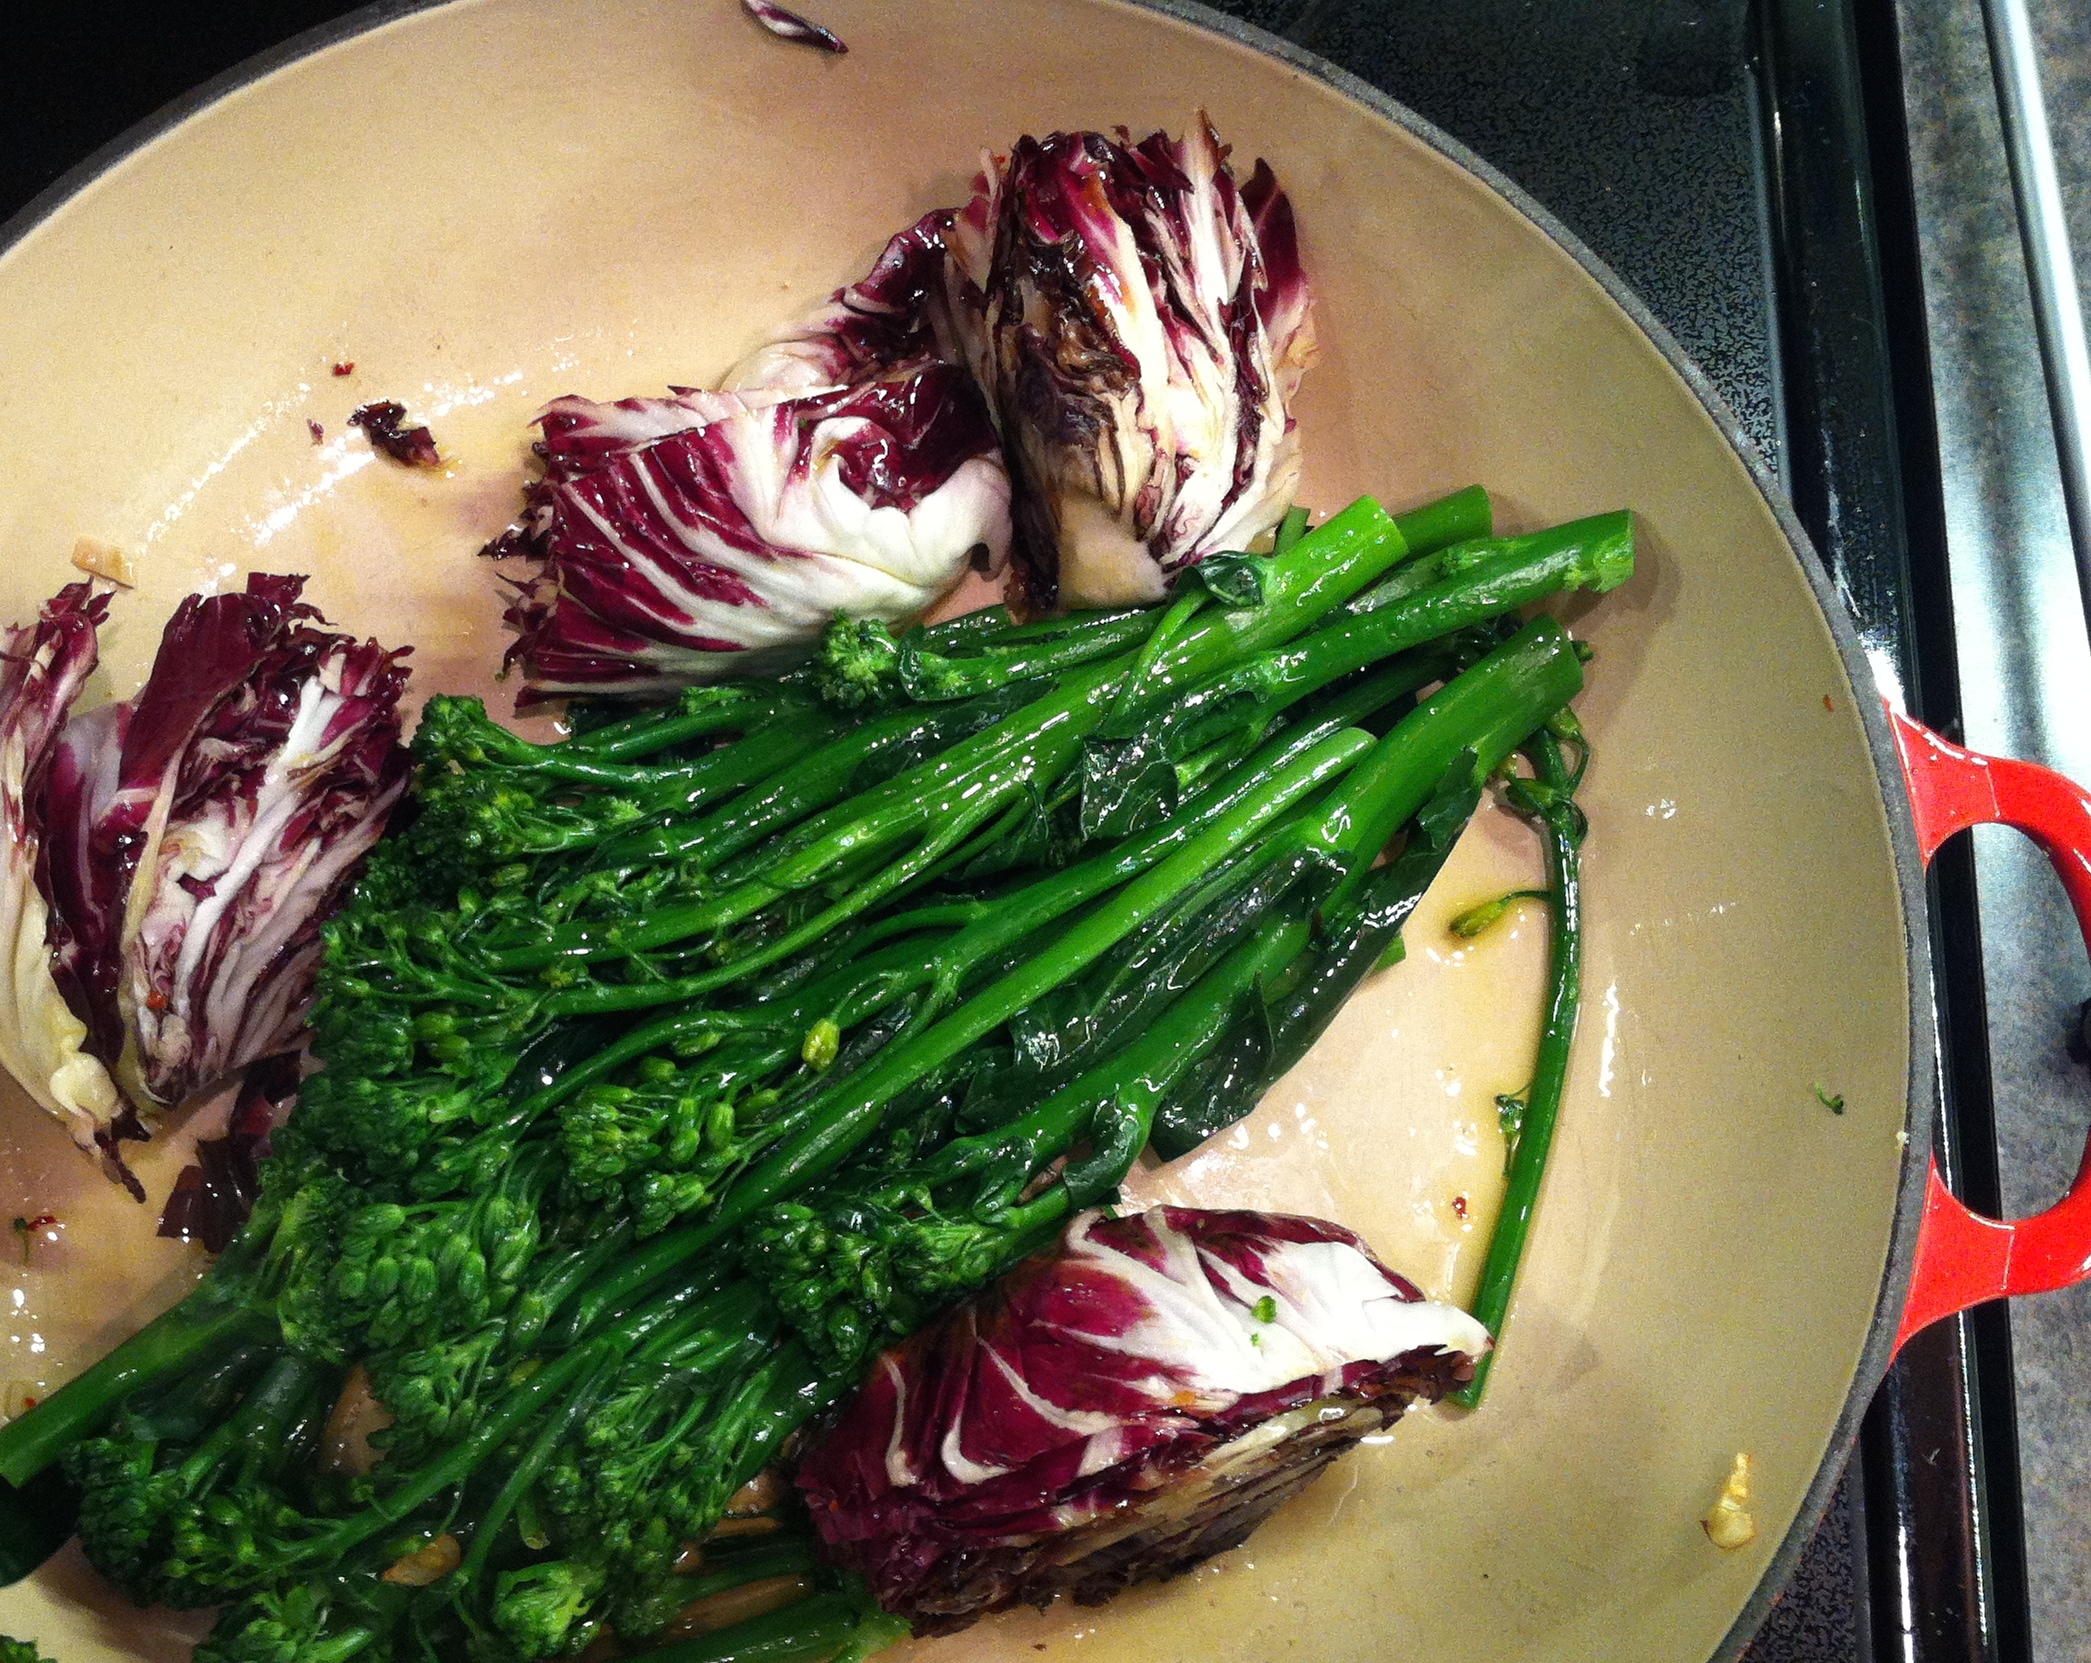
How to eat: Put the cima di rapa in a pot of boiling water and cook until it is done (In Italy, done means well done; none of this crunchy texture to vegetables). Remove it from the water, drain it. Save some of the cooking liquid. When cool, chop into smaller pieces. Put some olive oil in a pan and heat it; add garlic to taste and a pinch of red pepper. Add the cima di rapa and cook until the flavors are melded. Wonderful in pasta.
Variety to try: Cima di Rapa Quarantina is ready in 28-33 days, and has good-flavored leaves and small florets. Cima Sessantina is about a week later, and the florets are much larger.
Our full growing guide for Cima di Rapa can be found here.
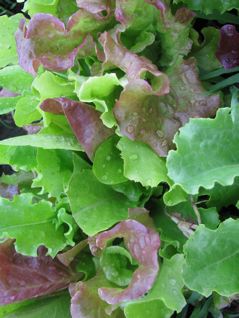
7. Misticanza (Baby salad mix)
How to grow: Direct seed in shallow furrows, spacing seeds about an inch apart. Harvest as soon as it's big enough to make a nice salad.
How to eat: In salads!
Variety to try: Misticanza Quattro Stagioni. Mesclun mix of lettuce, endive, radicchio & chicory. Ready in 40 days.
Our full growing guide for Misticanza and Lettuce can be found here.
8. Radish
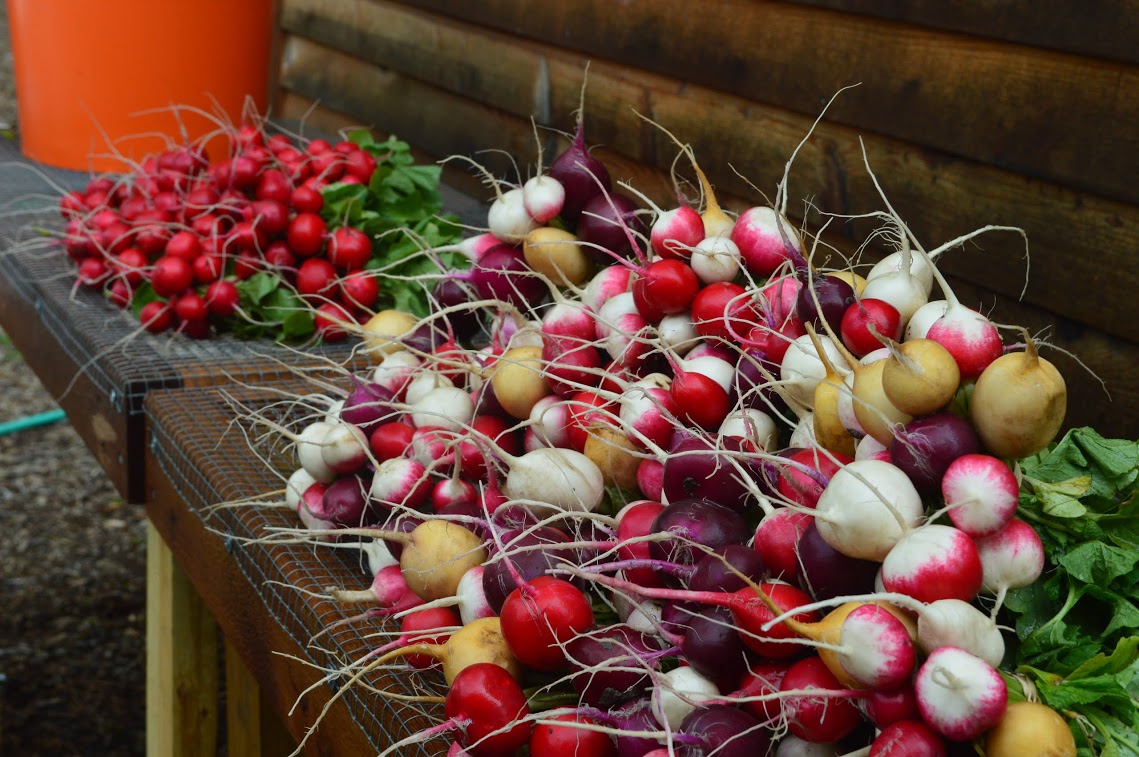
How to grow: Plant seed 1/2 inch deep and about 1 inch apart. Keep well watered so they grow quickly. Dry soil and heat ruin their taste and texture. Round varieties are ready in just 21 days.
How to eat: Slice round radishes thin and use on salads or in a sandwich (Try a good Italian bread spread liberally with softened butter, radishes, and arugula. Yum!) Long radishes can be roasted with olive oil.
Variety to try: Radish Candela di Fuoco. Long, tasty, red radish. Ready in 35 days.
9. Beets
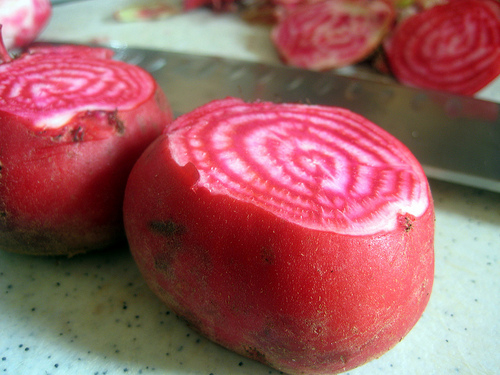
How to grow: Plant seeds 1/2 inch deep about 1 inch apart. Keep well-watered. Thin to 4 inches apart, and use the thinnings in salad. As the growing roots start to grow above the soil, hill them up to prevent the tops from getting corky. Harvest when the roots are about golf-ball sized or a little bigger for best flavor.
How to eat: Raw and grated on a salad. Roasted in olive oil, eaten hot or allowed to cool and sliced for salads later. Or pickle them for the off-season.
Variety to try: Beet Chioggia, with its bulls-eye stripes, is ready in about 50 days.
Our full growing guide for beets can be found here.
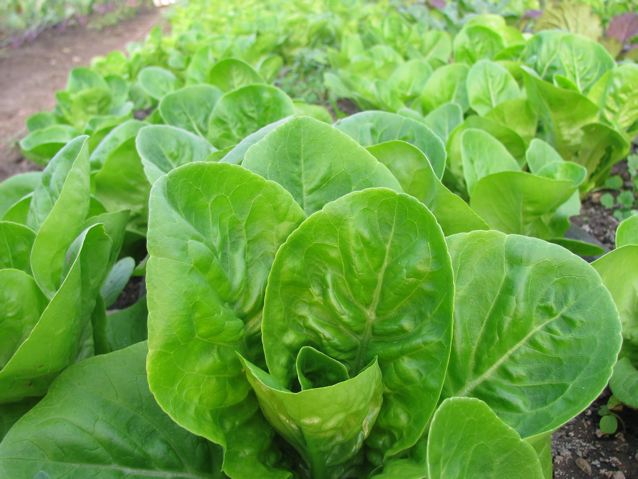
10. Head Lettuce
How to grow: Plant seeds about an inch apart. Thin to about 12 inches apart, and eat the thinnings.
How to eat: Salads, of course, but also quartered, brushed with olive oil, and grilled.
Variety to try: Regina D'Estate (Summer Queen). Ready in 40-50 days.
Our full growing guide for lettuce can be found here.
 11. Squash Blossoms
How to grow: Sow after last frost. Plant 1 foot apart in the row. Space rows 3 feet apart. Plant 2-3 seeds per hole, and then thin to 1 plant after germination. Pick the flowers every day if you do not want the plant to set fruit, and pick early in the morning before they have fully opened to beat the insects that also love squash blossoms.
How to eat: Blossoms can be chopped and eaten raw in salad, but the most exciting way to eat them is to dredge them in batter and deep fry. Here's a super-simple recipe from Elizabeth Minchilli.
Variety to try: Zucchini Flower Alberello Sel. Valery, a variety that makes lots of male flowers for cooking.
